Showing posts with label Home Decor. Show all posts

Thursday, November 29, 2012

Paper lunch bag to gift bag tutorial by Lori McClellan


Paper Lunch Bag to Gift Bag
by Lori McClellan
Featuring Prima products

 It's that time of year for gift giving.  This same idea can be used for holidays, baby showers, birthdays, or any gift giving occasion.  Here is an easy tutorial to help you start making your own custom gift bags, quickly!

1. Gather your supplies.  You will need a lunch bag, cardstock, ribbon, adhesive.  Decorative punch or scissors, and a hole punch.
2.  Begin by folding your bag down.  I roll mine twice about 2 inches.

3. Cut a strip of plain cardstock to fit under the rim of the cuff.  Use a decorative punch, scissors or just tear it.  Adhere it under the cuff.

4.  Cut a 5 x 5 piece of your Prima paper.  (Note:  The size you cut your paper will depend on the size of your lunch bag.  Make sure to measure your bag prior to starting your project.)

5.  Line up your two big sides and fold the sides out.  Use a hole punch to punch your holes for your ribbon.
 6.  Make ribbon handles, by tying knots in the ends of your ribbon and putting them through the holds.  Embellish with the amazing accessories from Prima.

Happy holidays, and as always Happy Crafting!


Monday, November 19, 2012

Cup of the month project with Cheri using Teresa Collins Vintage Finds

Cheri Piles
http://Cherinspirations.blogspot.com
"November Cup of the Month"
Featuring Teresa Collins Vintage Finds

I have just loved using this cup every month and creating a fun little project in it! With Thanksgiving this week I thought it was the perfect time to use the Vintage Finds collection. It's very fitting!

These are the supplies I used to create this month's project: Clocks paper side B, Bingo paper, Sticker sheet #1 (word stickers), Die Cut Flowers (one med black and one small newsprint), Decorative washi tape & Die Cut Border Strip (Glitter banner).

After you cut your template from the clocks paper adhere the glitter border strip to the top and trim as necessary. Cut around the top of the clock frame on the paper creating an opening for the "gratitude" bingo card to slip into. Tape the back of the bingo card to the clocks paper so it stays in place.

Adhere the med black flower just behind the bingo card. Adhere the smaller flower to the lower left of black flower. Adhere your washi tape in random strips overlapping the clock and clock frame. Adhere your word strip stickers: "remember"& "celebrate life" over black flower. Adhere word strip stickers: "Family" and "Blessed" overlapping the left side of the newsprint flower. Adhere "Thankful" to lower right of page. Attach "Cherish every moment" just under your black flower.


I love all of the sticker sentiments! Have a very Happy Thanksgiving!


Monday, October 22, 2012

Haunted House by Nicolle Kramer using Graphic 45 Happy Haunting


Altered Wooden "Haunted House"
Designed By: Nicolle Kramer
Featuring:Graphic 45 Happy Hauntings

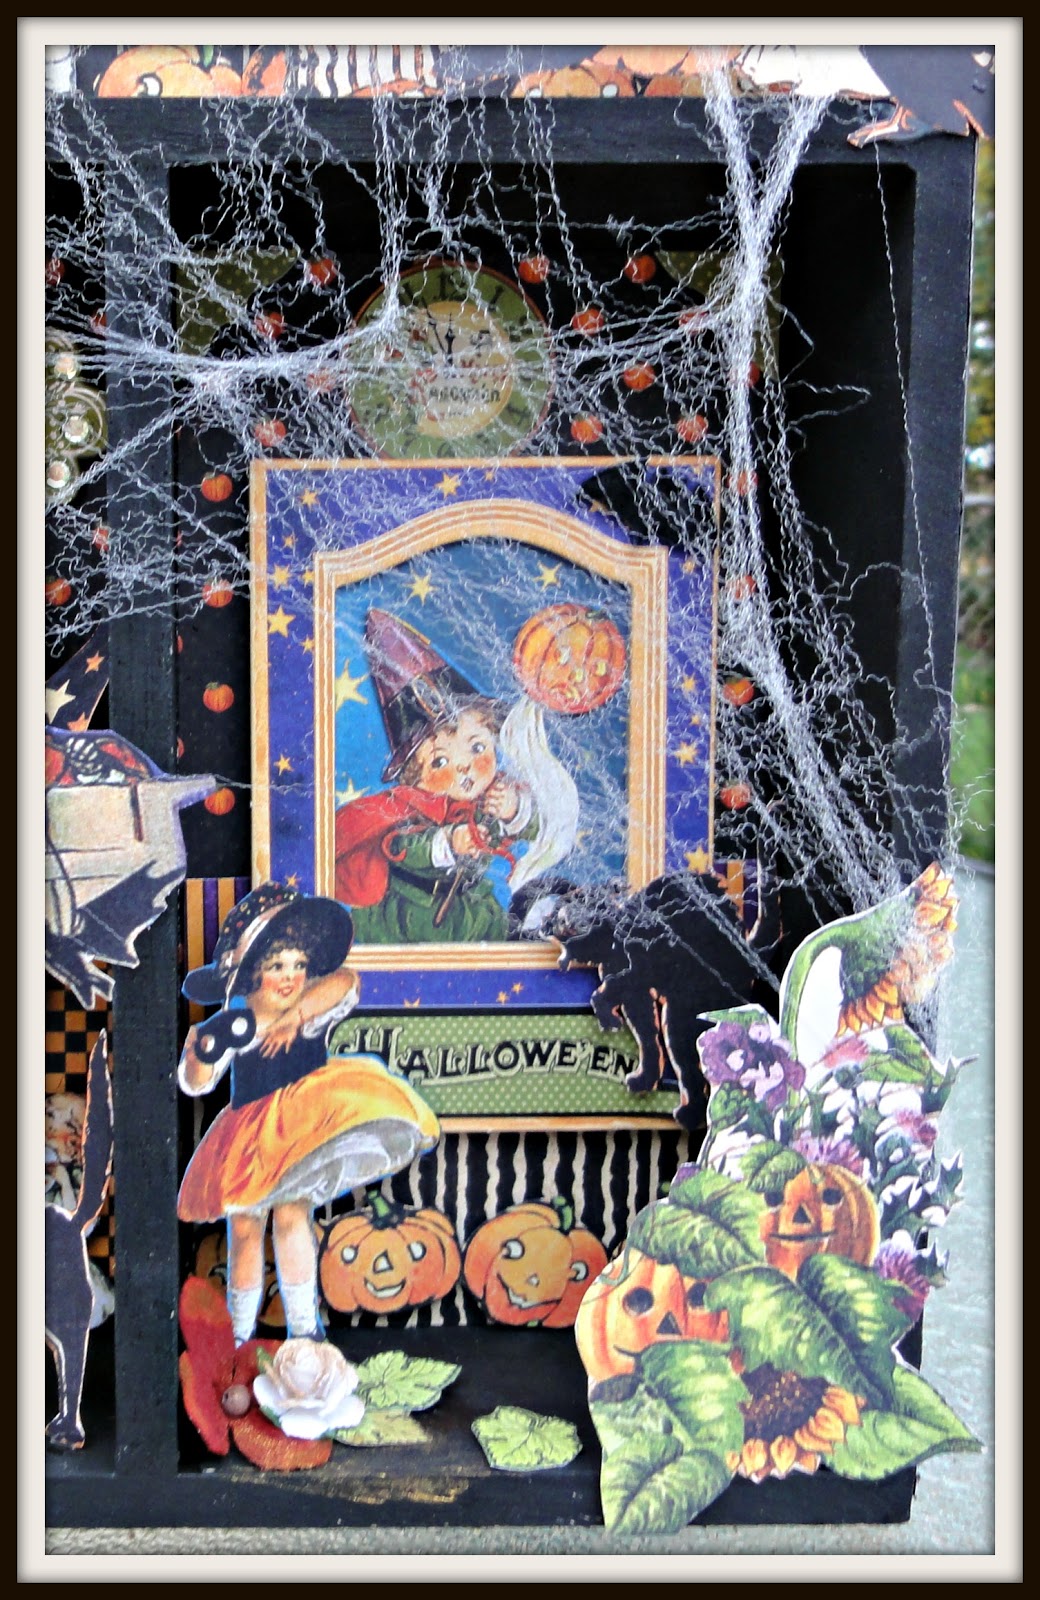
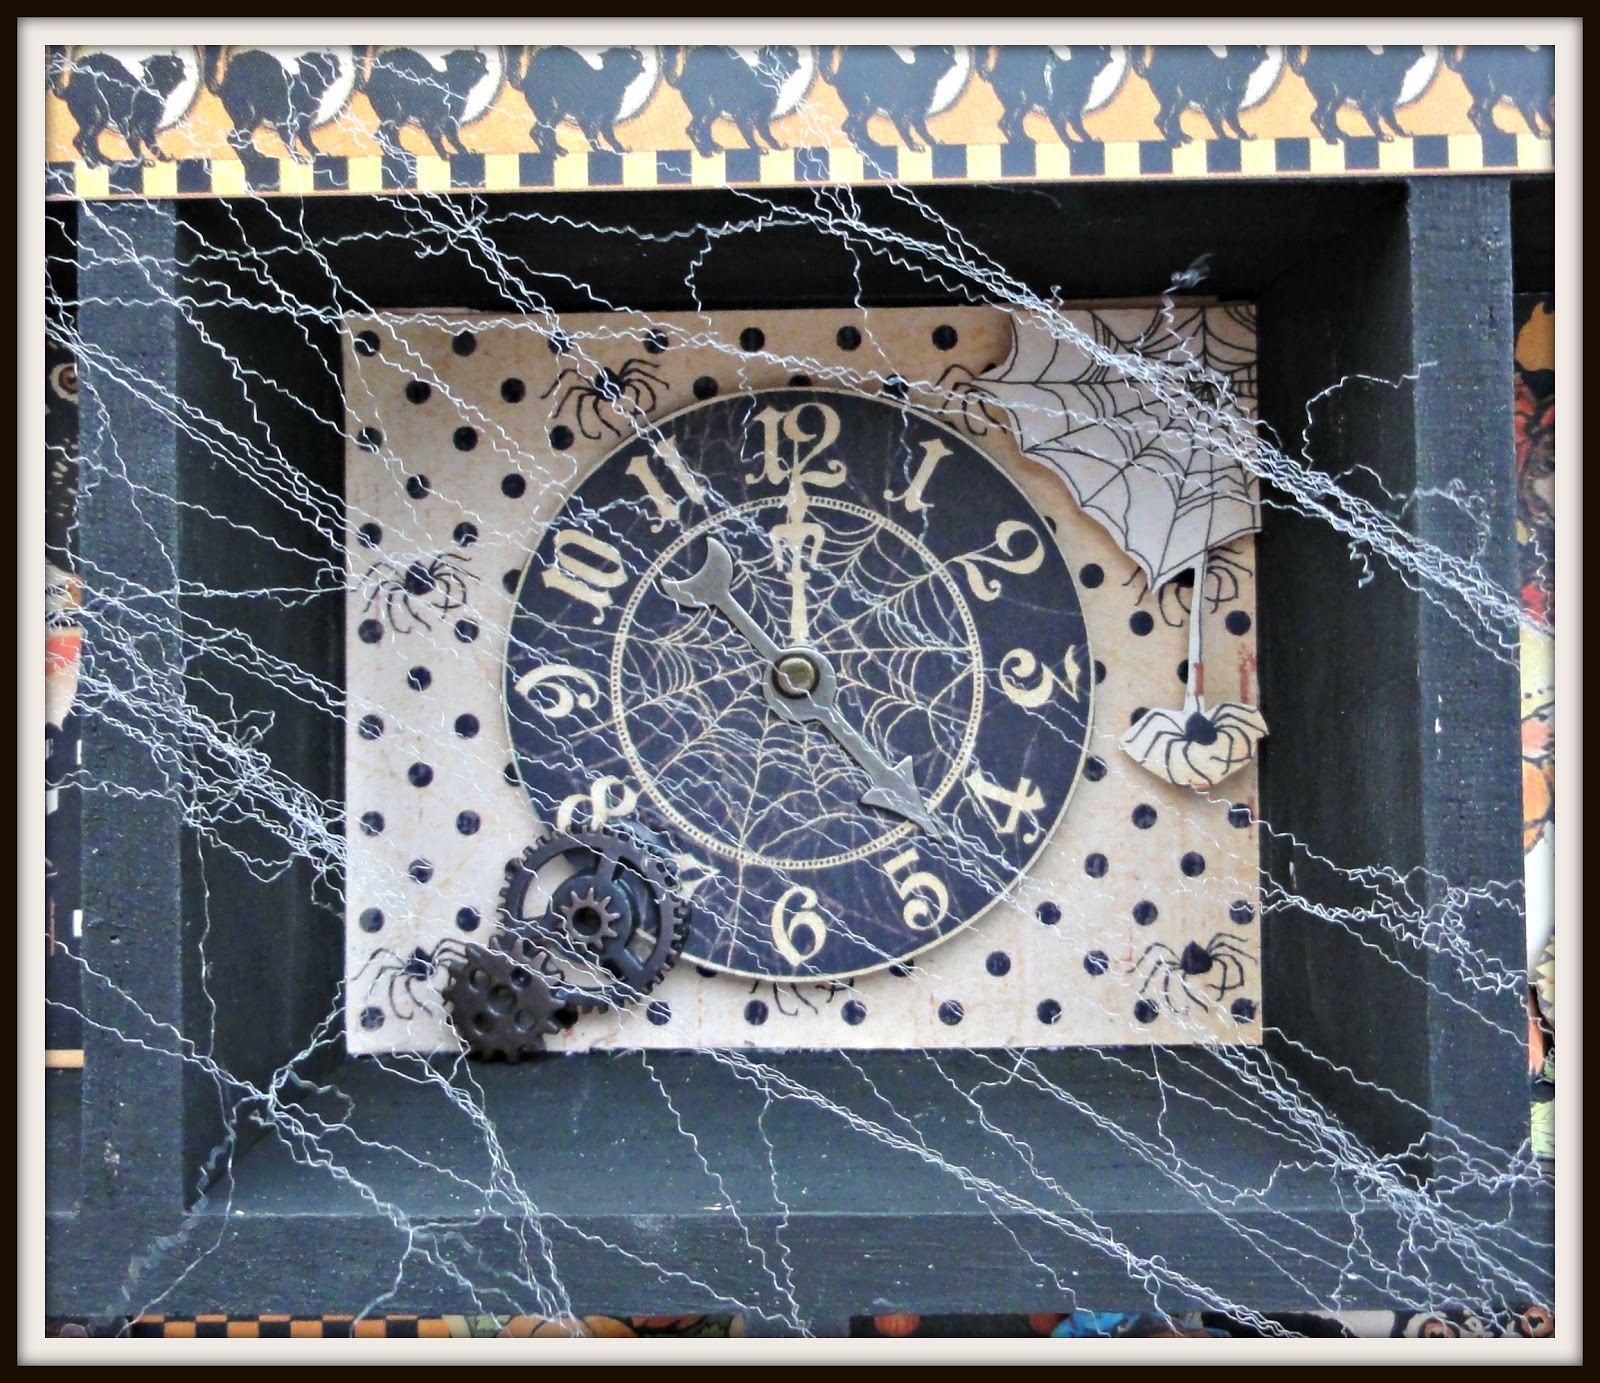
When it comes to paper I typically create layouts. I had this wooden house laying around for about a year now and was inspired to finally alter it. I purchased it on clearance in the wood section at Michael's. I think it was something like $2.00.  I thought hey why not make it a haunted house? It's a great addition to my Halloween decor. As if I don't have enough.  This is the house in its complete alter. I also included close ups and simple directions at the bottom of this post. It's a bit lengthy but I wanted to show all the details.


Supplies:


InLinkz.com

Here's what the house looked like originally.


I painted all the visible parts black before adding the papers.


This is a close up of the bottom center of haunted house.

The bottom left.


The Bottom Right.

 The top.I call it the attic.


The middle center.

The top left under peak.(attic)


The top right under attic.

This is a close up of the roof. I used plain orange card stock,inked,corrugated myself and inked the edges for a distressed look.

The covered both sides of house with patterned paper.

Instructions:

    This house was really simple and fun to alter. First I measured all the openings (rooms) and chose the patterned papers I wanted on each of the back walls. I then fussy cut images from different papers in this collection to add to each room.  I also used card stock stickers and chipboard elements to embellish with. I filled Tim Holtz corked vials with different colors of glitter and embellished them with word stickers found on the card stock sticker sheet.  Lastly for an added spooky touch I put a little bit of store bought web. You can use as much or as little for desired effect. I chose to use less so you can see all the details inside each room.  


Related Posts Plugin for WordPress, Blogger...