Happy Haunting Layout
Designed by Carolyn Lontin
Featuring: Graphic 45 Happy Haunting
Use black cardstock for the base of your layout
Trim Jolly Jack-O-Lantern paper to 11.75x11.75, distress the edges then attach to cardstock
Trim Midnight Magic paper to 2.5x12, distress the edges then attach to layout
Trim Word Play paper to 1x12, distress the edges then attach to layout
Trim "Halloween Greetings" tag from Hallowe'en Greetings paper, distress and ink the edges then attach to layout
Add two 3x5 photos to layout
Add Metal Hinges to left side of photos
 Add stickers from Cardstock Stickers (Halloween Tab, purple clock, small spider and halloween greetings stickers)
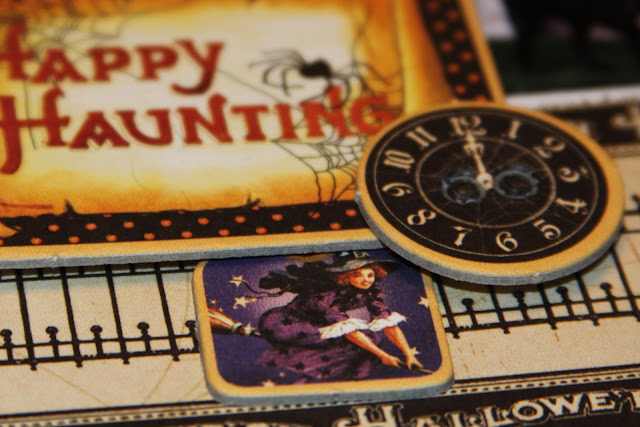
Using Foam Pop Dots under "Happy Haunting" Chipboard Tag from Chipboard Tags 1 then tie green fibers through tag hole
Using Foam Pop Dots under clock chipboard from Chipboard Tags 1
Add flying witch chipboard from Chipboard Tags 1, tucking it under "Happy Haunting" Chipboard Tag
Add 12" strip of black bats satin cutouts ribbon, holding in place using Tim Holtz Tiny Attacher at ends of ribbon


I love how you used the hinges Carolyn, great idea!
ReplyDeleteI love your layout. I love that you put in the journaling sticker piece.
ReplyDeleteLove the layout. Simple but effective use of the chipboard tags and G45 Hinges!
ReplyDeleteCool layout!!
ReplyDeleteGreat job -- love the hinges!
ReplyDeleteFantastic layout!! Love the hinges and the bat trim!
ReplyDeleteincredible blog posts to visit in tumblr insomnia types,insomnia 8th week pregnancy,insomnia definition,insomnia king,insomnia vitamin b complex,insomnia vertigo,insomnia sammie lyrics,insomnia remedies natural
ReplyDelete